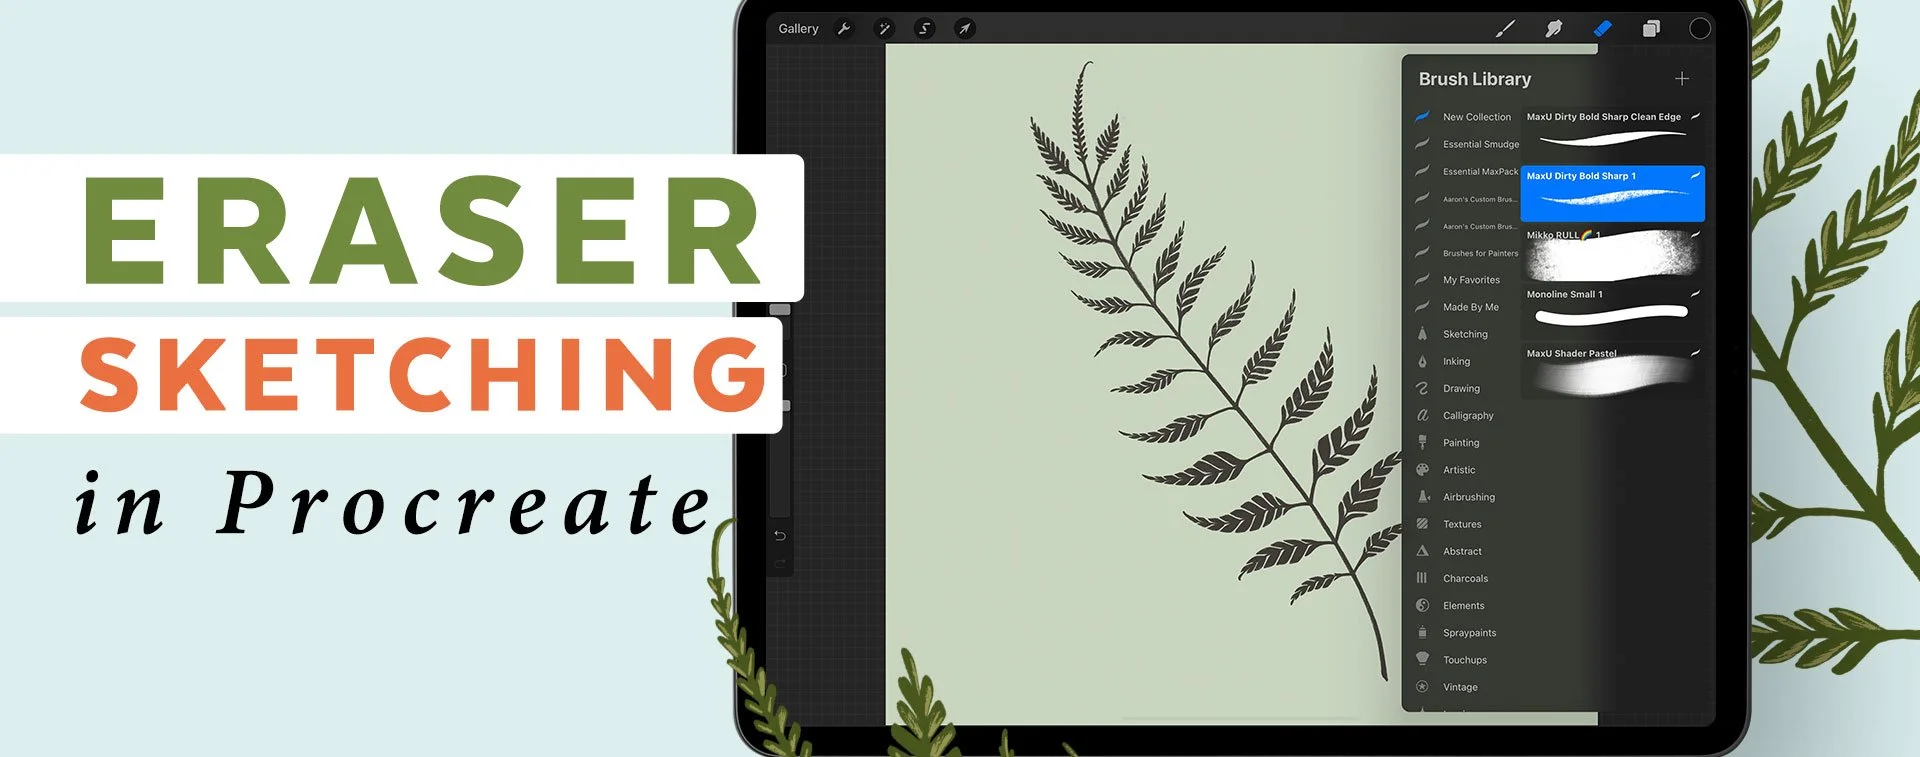
Using The Eraser For Sketching In Procreate - Episode 1
video - Episode 1
When most of us think of drawing we think of using the brush tool in Procreate.
But have you ever thought of using the eraser tool for sketching by removing areas to create the shapes you want to draw?
In this video chat episode, I talk about how to use the eraser for sketching for creating details sketches you can use as a guide for creating your finished illustrations.
Watch How to Use the Eraser for Sketching in Procreate
Learn more about drawing leaves in Procreate
Sign up for my free mini course all about drawing leaves in Procreate here!
There are two ways to follow these video chats:
You can subscribe to the video chats right here on YouTube
Or subscribe here to get them delivered to your inbox when new episodes are released via the newsletter
Eraser Sketching in Procreate Transcript:
-
00:00:25.120 --> 00:00:26.300
In this time-lapse video,
00:00:26.880 --> 00:00:31.820
I'm going to talk about how I used the eraser to sketch this complex
00:00:32.050 --> 00:00:33.580
fern in procreate.
00:00:34.240 --> 00:00:39.220
The fern is just one element of a much bigger design that I will show you
00:00:39.380 --> 00:00:40.780
at the end of this video.
00:00:42.360 --> 00:00:46.800
I started out with a rough sketch to get an idea of where the leaves were going
00:00:46.800 --> 00:00:47.633
to go.
00:00:48.340 --> 00:00:53.270
Then I started in on a refined sketch by first working on
00:00:53.290 --> 00:00:57.270
the overall shape of the leaf. Once I liked the shape,
00:00:57.710 --> 00:01:02.510
I used the eraser with the same brush to create the individual leaves
00:01:03.210 --> 00:01:07.270
by erasing the areas of the sketch I didn't want to keep.
00:01:08.280 --> 00:01:11.670
Since this was defining the tiny little leaves on the fern.
00:01:13.110 --> 00:01:15.080
Here I am going down the central,
00:01:15.080 --> 00:01:19.800
central stem and adding in the leaves and marking where the center line of
00:01:19.910 --> 00:01:24.570
each with the eraser. As I create each one,
00:01:24.810 --> 00:01:29.530
I make sure that they are directly opposite each other along the central stem
00:01:29.750 --> 00:01:30.510
too,
00:01:30.510 --> 00:01:35.130
and incorporate details that give a feeling of movement by curving the leaves
00:01:35.390 --> 00:01:38.490
around and outward from the center stem.
00:01:39.640 --> 00:01:44.530
Then I go back and start erasing parts of the leaf to create the
00:01:44.530 --> 00:01:49.010
tiny leaves, and then using the paintbrush to add in the middle stem.
00:01:49.260 --> 00:01:52.210
Again, to connect all of the little leaves.
00:01:52.880 --> 00:01:57.090
It's okay to try something new. As you are creating your artwork.
00:01:58.030 --> 00:02:00.450
Try new things, try different approaches.
00:02:01.390 --> 00:02:06.360
That is the great thing about creating artwork is that you get to do
00:02:06.360 --> 00:02:09.480
it in new ways and try new things,
00:02:09.740 --> 00:02:13.760
and it's so much fun to see how it turns out.
00:02:14.990 --> 00:02:17.550
I could have used the sketch and recolored it,
00:02:17.970 --> 00:02:22.750
but I wanted to clean things up further and switched to the brush with
00:02:22.870 --> 00:02:27.830
a deep green color and followed my sketch on a new layer above the
00:02:27.830 --> 00:02:28.663
sketch.
00:02:28.790 --> 00:02:33.560
I usually use the sketch on top of what I am drawing and on a new
00:02:33.560 --> 00:02:36.120
layer, but I did it differently this time.
00:02:36.700 --> 00:02:41.080
Having a detailed sketch to work from, from the get go,
00:02:41.920 --> 00:02:45.480
creating this illustration was very helpful.
00:02:46.770 --> 00:02:51.520
Don't be afraid to spend the time to create the sketch that
00:02:51.750 --> 00:02:54.360
will guide you in creating your finished artwork.
00:02:55.180 --> 00:02:59.860
It really takes the guesswork out of creating your artwork
00:03:00.200 --> 00:03:04.140
and knowing where, like for this one,
00:03:04.140 --> 00:03:09.020
where each leaf needed to go, so that as I was creating it,
00:03:09.260 --> 00:03:10.940
I wasn't having to figure it out.
00:03:11.460 --> 00:03:15.900
I already did the work up front to think about where the leaf would go and
00:03:15.900 --> 00:03:17.700
what shape they needed to be.
00:03:18.260 --> 00:03:22.500
I wanna encourage you to take a look at the different plants that
00:03:23.320 --> 00:03:27.180
are around you. That could be around your home or,
00:03:27.240 --> 00:03:31.500
in a flower bouquet that you get and take pictures of them so that you can
00:03:31.780 --> 00:03:36.220
reference them and then create something that represents that.
00:03:36.240 --> 00:03:38.380
It doesn't have to be as detailed as this.
00:03:38.850 --> 00:03:43.660
Just start and have fun playing with Procreate and
00:03:44.020 --> 00:03:45.900
creating artwork that you love.
00:03:47.050 --> 00:03:51.020
This fern is one of the most complex plants I've illustrated in Procreate,
00:03:51.280 --> 00:03:56.220
but it adds tons of detail and texture, and contrast to
00:03:56.220 --> 00:03:59.500
the finished piece. I will be sharing more process videos,
00:04:00.000 --> 00:04:03.940
so be sure to subscribe for more drawing tips.
00:04:04.070 --> 00:04:06.980
Check out my sketching guide linked in the description,
00:04:07.560 --> 00:04:09.340
or check out my beginner mini course.
00:04:09.520 --> 00:04:13.660
All about leaves at deniseanne.com/leaves

