Drawing Freesia Florals In Procreate - Episode 2
video - episode 2
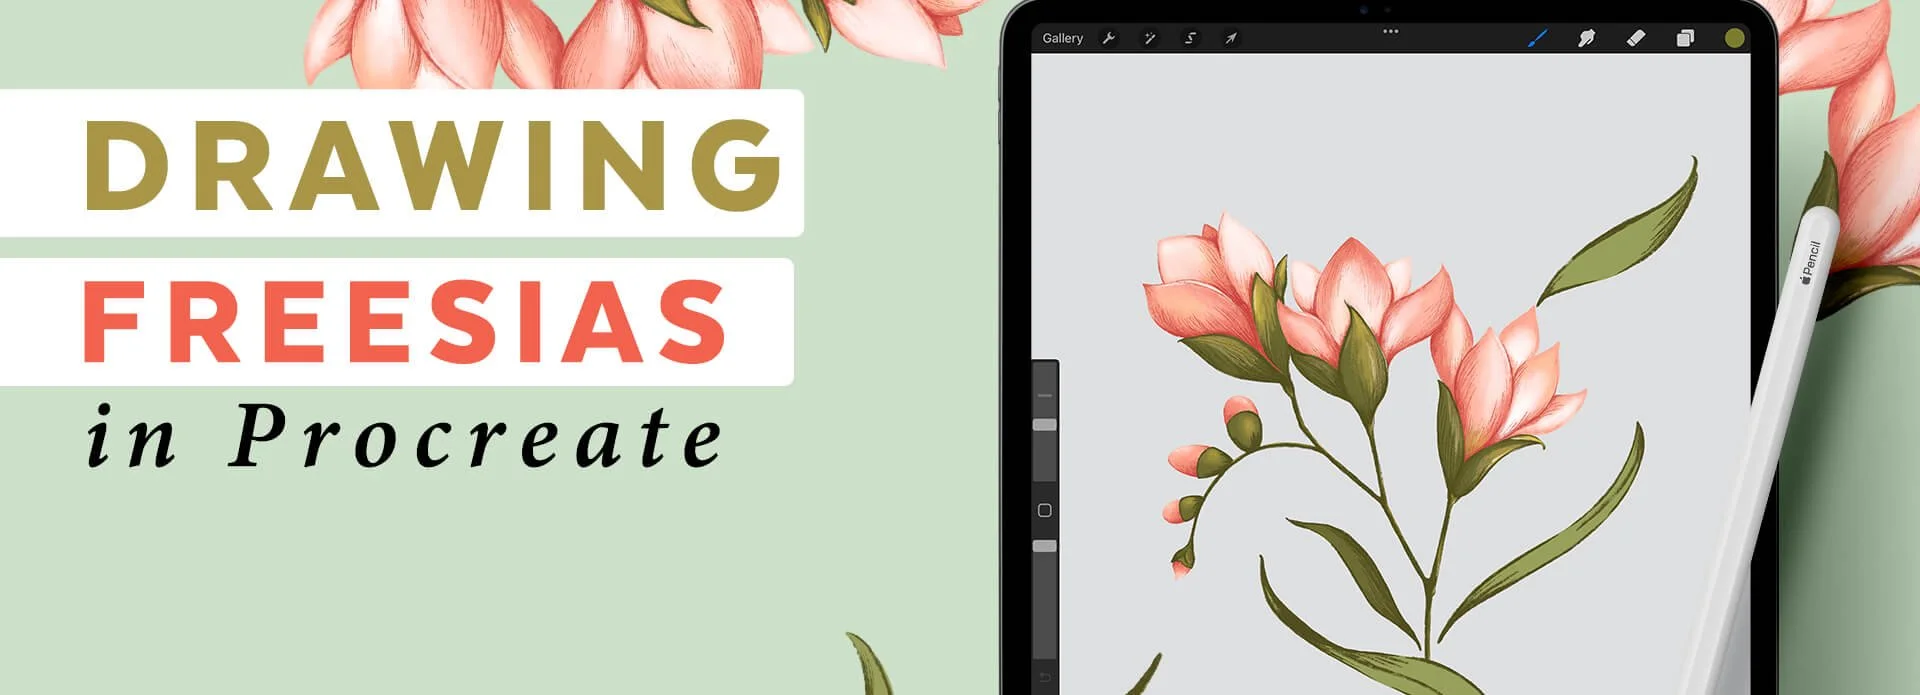
In this video chat episode I create these freesia flowers in Procreate.
We talk about the sketching process for these florals, and I list the Procreate brushes I used to create these flower illustrations in the description below the video.
Watch the Drawing Freesias in Procreate Timelapse
Procreate brushes used:
For creating the sketch, I used MaxU Dirty Bold Sharp Brush
For filling in color I used my Monoline Brush (available free here in the mini course)
I also used the Mikko Rull brush for color highlights and smudging with the smudge tool
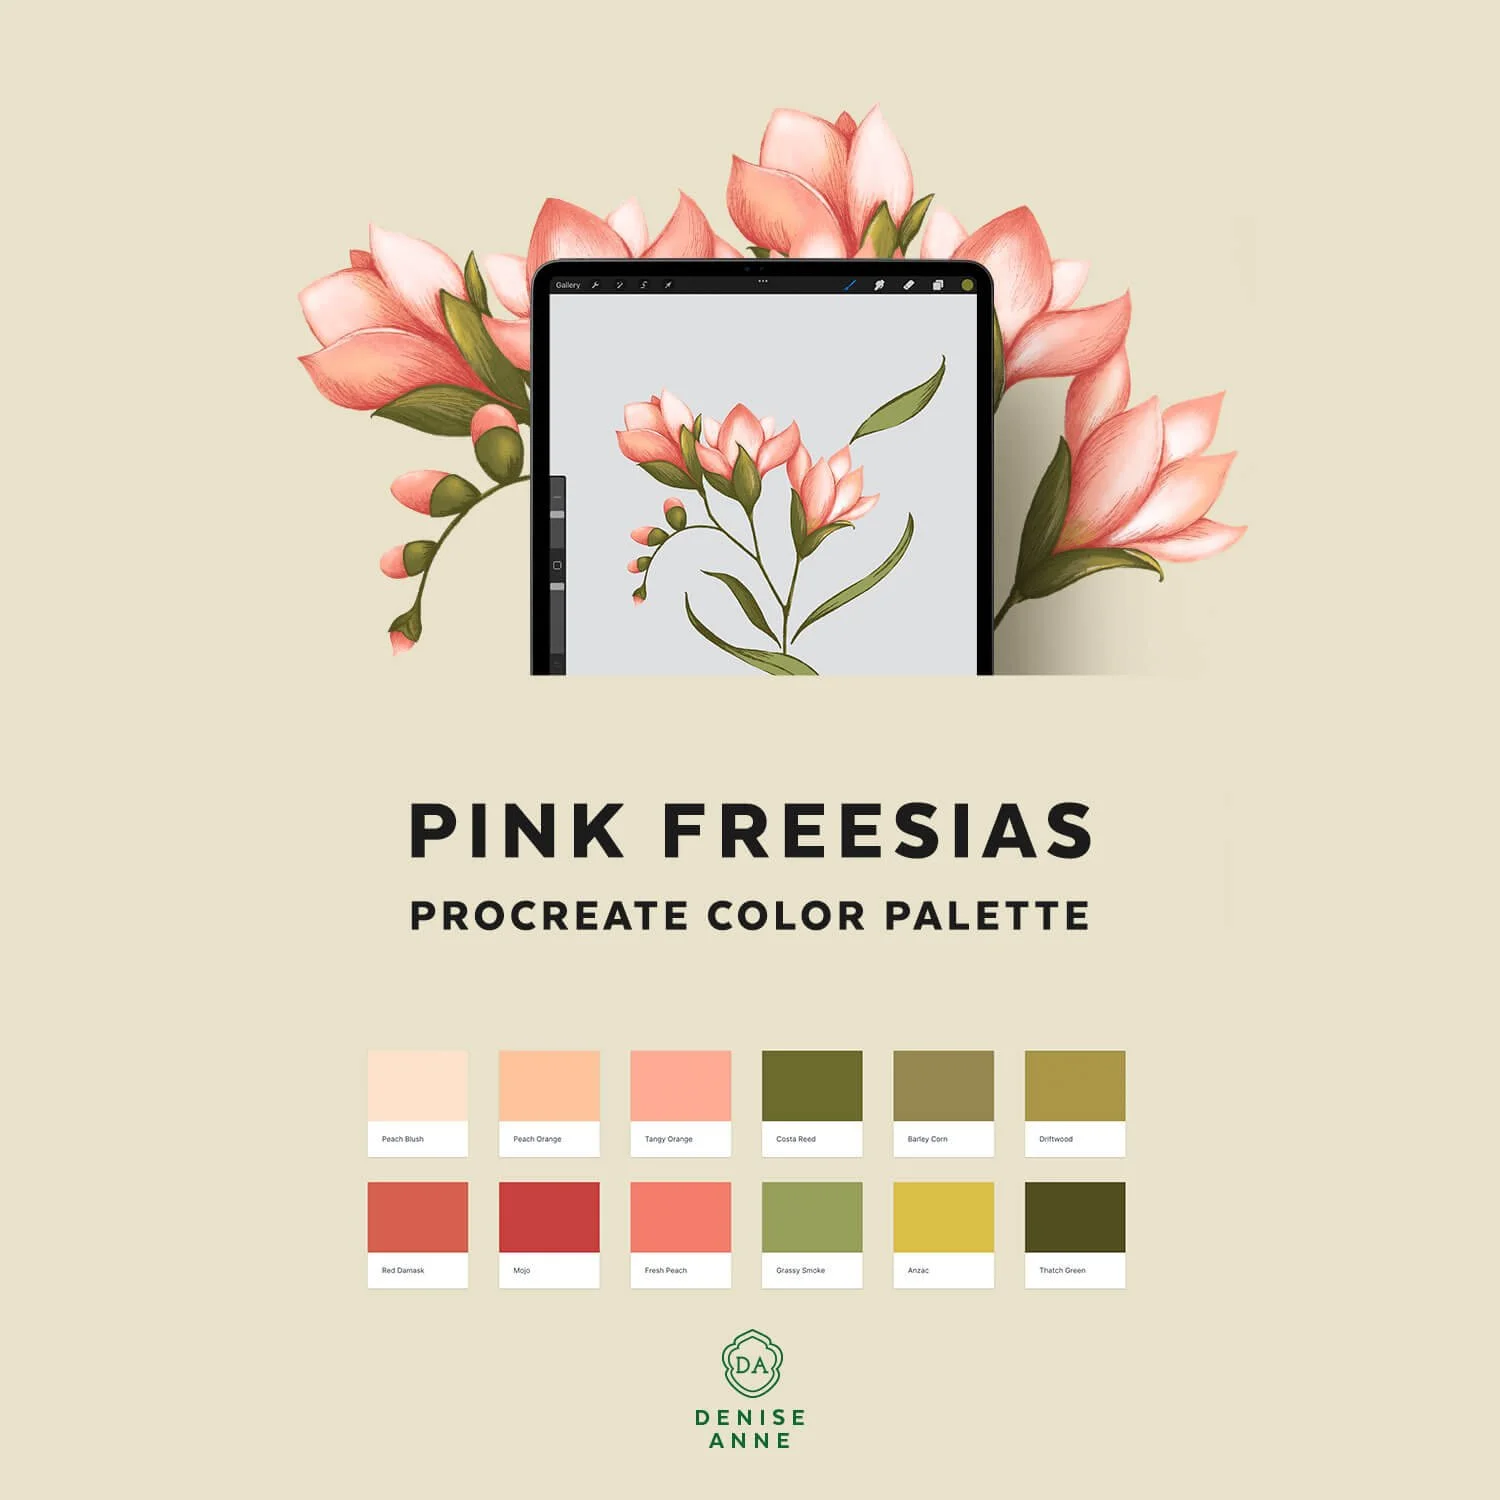
Get the Procreate Color Palette
Get the Freesia Procreate Color Palette
Sign up and get the color palette plus more tips delivered to your inbox.
Learn more about drawing leaves in Procreate
Sign up for my free mini course all about drawing leaves in Procreate here!
There are two ways to follow these video chats:
You can subscribe to the video chats right here on YouTube
Or subscribe here to get them delivered to your inbox when new episodes are released via the newsletter
Illustrating Freesia Flowers in Procreate Transcript:
-
00:00:24.830 --> 00:00:28.930
In this TimeLapse video, I'm creating these pink freesias and procreate,
00:00:29.430 --> 00:00:33.450
and I list the procreate brushes I used in the description. Below this video,
00:00:34.230 --> 00:00:38.050
you can find the link to the procreate color palette for these flowers below
00:00:38.050 --> 00:00:41.800
this video as well. Starting out the sketch,
00:00:42.060 --> 00:00:46.640
I'm thinking about getting the placement of the flowers right on the stems and
00:00:46.640 --> 00:00:48.200
the size of the flower buds.
00:00:49.420 --> 00:00:53.680
I'm also thinking about movement and positioning the flowers on the stem to
00:00:53.680 --> 00:00:55.320
create movement from right to left.
00:00:56.740 --> 00:01:01.120
The stems are thin and it contrasts with the size of the larger flowers
00:01:01.740 --> 00:01:04.440
and brings with it a delicate feeling to the flower.
00:01:05.310 --> 00:01:06.880
When I'm creating floral artwork,
00:01:07.040 --> 00:01:11.560
I try to think about how the plant would naturally grow and also give some type
00:01:11.580 --> 00:01:12.480
of movement to it,
00:01:12.740 --> 00:01:17.080
either with a curvature of its stem or the way the flowers are positioned.
00:01:18.800 --> 00:01:21.680
I later decided I wanted some unopened buds,
00:01:22.020 --> 00:01:24.560
so I did a quick sketch and added them in,
00:01:24.980 --> 00:01:27.800
as well as some filler leaves to go with it.
00:01:28.990 --> 00:01:31.200
When I'm creating filler leaves to go around the flowers,
00:01:31.560 --> 00:01:35.400
I want them to move with the stem as if they are dancing around it.
00:01:36.830 --> 00:01:40.120
This is the finished pattern design I created with these freezes.
00:01:41.880 --> 00:01:43.960
I will be sharing more process videos,
00:01:44.620 --> 00:01:47.520
so be sure to tap that subscribe button. If
00:01:47.520 --> 00:01:49.560
You would like to learn more about drying plants,
00:01:49.860 --> 00:01:52.320
you can also check out my beginner mini-course,
00:01:52.580 --> 00:01:54.560
all about illustrating leaves in procreate at
00:01:54.560 --> 00:01:58.560
00:01:59.570 --> 00:02:00.640
Thank you for watching.


